SHYGAR
  • Home
  • About US
  • Gallery
  • Contact me
  • Blog

Colorful Fermenting Crock

4/28/2013

0 Comments

 
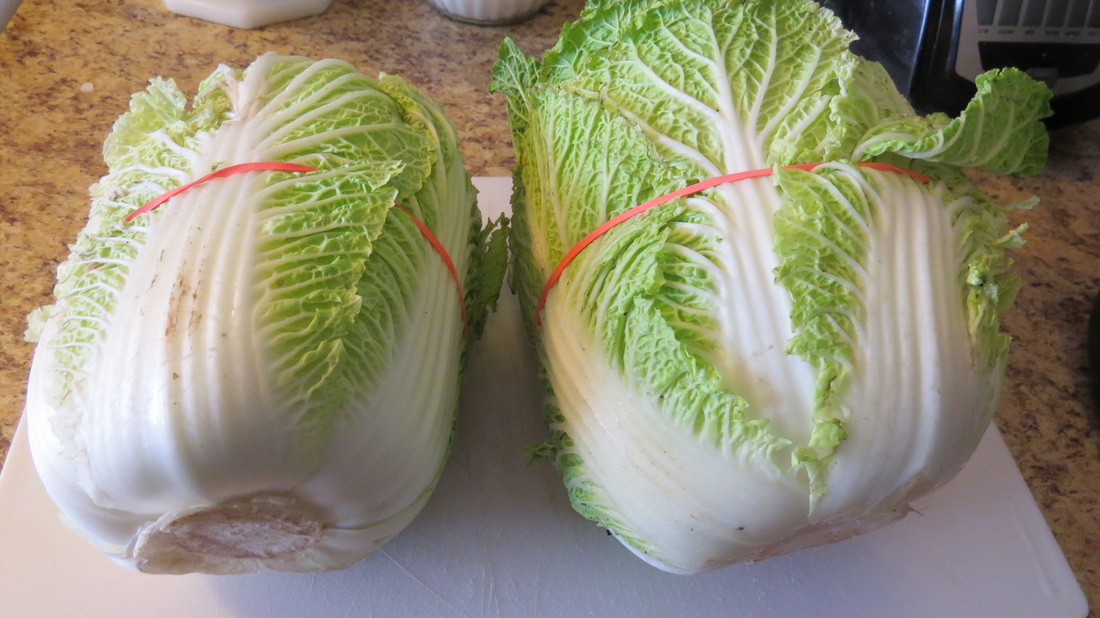
About two years ago I started making my own kimchi in leftover kimchi jars, but they were too small and they didn't seal well.  I looked at various fermenting crocks online and they were so much money for even a one gallon crock.  My kimchi had become such a family staple I wanted to add sauerkraut as well, but I knew that the fermentation time was much longer for kraut and that I needed a crock.  Kim chi is ready in a few days where kraut takes four to six weeks to mature.

I bought a one gallon glass crock with a lid and made my first batch of kraut.  It was quite good, but not everyone not liked it.  Shy had never really had kraut before and wasn't sure if she liked it.  My friends tried it and loved it.  The problem with the glass crock is it lets light in and that can be good for certain bacteria but bad for flavor and your stomach.  I asked my wife if she could use her clay art talents to decorate the crock.  This is what she came up with:

Now that I had my new crock I wanted to try it out.  I decided to make kimchi first, as I said it’s a family staple and there is rarely a dinner that goes by that we don’t have some kimchi.
Picture
Disclaimer:  I was born and raised in America and never even had kimchi until I was in college when a Korean class met introduced it to me.  I was repulsed at first by the smell, but it looked so bright I had to try it.  I have been hooked ever since.  That was nearly 20 years ago.  So this is my take on kimchi, I cooked professionally for many years so I can at least say I know food.  I hope you enjoy the pics and try the kimchi recipe for yourself. 

List of ingredients:
  • 3 to 4 pounds of napa cabbage
  • 1 pound daikan
  • 1 whole garlic
  • 3 to 6 green onions
  • a medium bunch of mustard greens
  • 1 to 2 large carrots (optional)
  • 2 to 3 ounces of whole ginger
  • 1 large apple any variety (optional)
  • 3 tablespoons of fish sauce
  • chili paste to taste more the better in my opinion, but I have to balance the taste for my family
  • Other hot peppers (optional and any kind you want fresh or dried)
  • 3 tablespoons of honey
  • 1/2 cup and 2 tablespoons of sea salt, (make sure you do not use table salt with iodine that will inhibit the fermentation process, I will explain why you need that much salt later)
  • 2 gallons of water
Makes about 1 gallon of kimchi
Picture
Picture
Picture
List of equipment needed:
  • 3 gallon bowl or pot
  • 1 gallon crock
  • knife
  • cutting board
  • colander
  • measuring cups and spoons or guess like I do
  • a tamping device to tamp down the cabbage
  • a blender or food processor
  • mason jars or other jars with a good seal to hold store the kimchi after fermentation
How to make kimchi:
  1. Take your large pot or bowl fill with 2 gallons cold water and dissolve 1/2 cup of salt into the water.
  2. Rinse the cabbage in cold water remove any damaged leaves, cut in half and remove the core place the cabbage in the pot with the salted water.
  3. Peel and cut up the daikan, place in the water with the cabbage.
  4. Press it down with your hands as far as you can.
  5. Place a plate on top of the cabbage and daikon, ensure that the water just covers the plate.
  6. Place a few pounds of weight on top of the plate.
  7. Move to a quiet place for 3 to 4 hours.
  8. Cut the green onions into 1/2 to 1 inch length and set aside.
  9. Clean the mustard greens well remove the stalk and set the leaves aside.
Making the chili sauce:
  1. Take the rest of the ingredients and put in a blender until thoroughly mixed.  This is where you can have fun, making it spicier  sweeter, tangier or adding other ingredients.  From what I have seen the only limit to kimchi is your imagination.  This is just a basic recipe.  Have fun and let us know how it turns out.  Email your pics and stories to shygarshop@gmail.com
  2. Set the sauce aside and after your cabbage and daikon are done with the brine soaking move the bowl to the sink and begin to rinse them in cold water removing the salt by wringing them out under cold water Continue to rinse until you have done each piece three times.
  3. Place all of it in a colander and let it drain thoroughly.
  4. Mix the chili sauce into the napa, daikan, green onions and mustard green leaves, until completely covered.
  5. Place the kimchi into your jars, I used 4 one quart mason jars.
  6. Move to a cool quiet place and let sit for 3 to 4 days, I prefer the basement because it is cool.
  7. Once the kimchi starts to bubble the fermentation process is in full swing, move to the refrigerator to slow the process down.  It should be good for several months, but chances are it won’t last that long if you love kimchi as much as we do.
  8. Eat and enjoy!
If you would like a crock like this and want one similar to this one please email us at shygarshop@gmail.com to get a quote.

For more info on kimchi here is some useful links:


  • http://www.health.com/health/article/0,,20410300,00.html
  • http://en.wikipedia.org/wiki/Kimchi
  • http://www.thekitchn.com/trader-joes-has-kimchi-here-are-6-ways-to-use-it-183085
  • http://www.imdb.com/title/tt1687241/
0 Comments


Leave a Reply.

    Corey & Shy


    Archives

    December 2020
    March 2018
    February 2018
    January 2018
    March 2016
    February 2016
    April 2014
    February 2014
    December 2013
    November 2013
    June 2013
    May 2013
    April 2013
    March 2013

    Categories

    All
    Decorative Glass
    Etsy
    Events
    Fake/real Ear Plugs
    Give Aways
    Handmade Jewelry
    Jewelry
    Our Little Helper
    Pendant
    Polymer Clay Canes
    Shyshandmadecrafts
    Unbaked Polymer Clay Design
    Wood

    RSS Feed

Powered by Create your own unique website with customizable templates.
  • Home
  • About US
  • Gallery
  • Contact me
  • Blog